Here it is! The picture post!
I'm going to show you how to make tiny books that you can customize and use for earrings, keychains, necklaces, bracelets, Christmas tree ornaments, or even for a doll or dollhouse.
I found an excellent tutorial through Pinterest (link here) but changed up a few things -- so this is my process.
Step 1: gather your materials -- paper (plain or notebook or colored), Elmer's glue, fabric (I prefer t-shirt as it is stretchy and hardy), scissors, cardboard, a pencil, and something to spread the glue (I use square-ended popsicle sticks, leftovers from laying a wood floor in a dollhouse).

Step 2: Cut a piece of the paper and fold until you get the size of the book you want. This will be your template for the book cover AND the pages, so keep it!


Step 3: trace onto cardboard, and cut out. The cardboard will be the book cover.

Step 4: Find the middle of your book and draw a line on each side. Pinch the book together, making the space between the lines the book's spine.


Step 5: use the original paper template and trace onto the paper you're using for the book pages (you want rectangle strips, not squares -- the rectangles will be folded in half to form the pages). Cut and fold in half, then place in book.


(Forgot to add these important materials: needle and thread)
Step 6: Mark where the holes need to be (you'll be sewing the book cover & pages together). This is why I like using lined notebook paper -- so much easier to line up the holes!)

Step 7: Poke holes in the cover and pages (the cover first, then the pages -- don't try it all together, you'll jab yourself like I did).

Step 8: Thread your needle and tie a double knot. Start from the outside lower end of the cover (lowest hole), then through the middle hole, then end up top ( think S). Then go back through the middle and lowest hole. End in middle and knot (figure 8).

Step 9: Bend the pages a few at a time so that they are "ruffly" instead of just spreading from the middle.

Step 10: Lay out the book on your fabric and trace around it -- see below for pattern.


Step 11: After tracing and cutting out the pattern, snip a slit on top and bottom (not a triangle -- just a straight snip). This slit will allow the fabric to be wrapped on either side of the pages/spine without using two pieces of fabric.


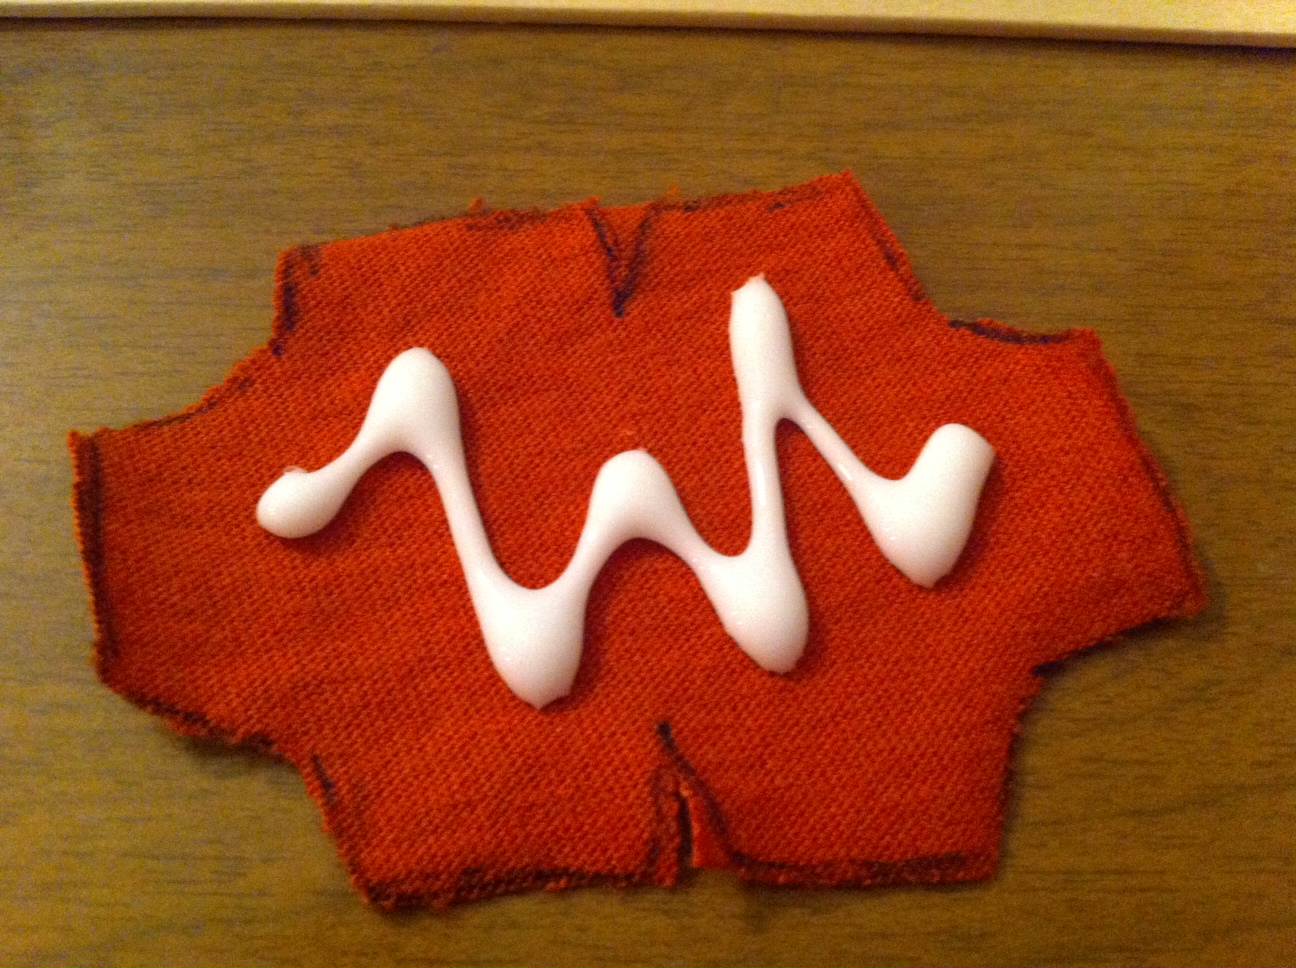
Step 12: Squeeze some glue onto the inside (the marked side) of your book cover. The glue needs to cover every bit fabric which is why you need the spreader. You may need to hold the fabric back so it doesn't roll in on itself (the reason my fabric has dark spots on it in later pictures -- hasn't finished drying yet!).

Step 13: Fold the cover over -- Top, then Bottom, and the sides LAST. Press hard to make sure the fabric is glued together tightly. You might want to pull the top and bottom as close together as possible. The t-shirt fabric, again, is great for this since it is stretchy.


Step 14: Let dry.
 |
|
Step 15: add the hardware to your book with embroidery
thread. If you want to do earrings, you just need the earring hooks and
embroidery thread. If you want a necklace, just a chain and embroidery
thread. I did a keychain since I already have a necklace/earrings (which
you can see below). All you're going to do is thread your needle with the
embroidery thread and pull the needle under the first stitch (behind the
pages). Knot at the appropriate length.
|


Step 16: Pull the knot around to the inside of the book and you have a nice, clean loop. Attach to hardware.


Ta-da! Your tiny book is done! Now you can add a favorite quote, verse, or passage to it -- practice your handwriting beforehand, and use colored pens (or if you want to get fancy, print the words in small font and trace over them)!
Here's my book on my keychain (see my Where the Wild Things Are library key thingie? It's so handy and cute!)

Here are some of the other books I made: my favorite pair of earrings (in mustard yellow t-shirt fabric)...

Black pleather earrings (I found some pleather pants at the thrift store and cut them up for various jewelry projects)...


A bigger book on a blingy necklace.

Hope you enjoyed! This is my first tutorial, so if I haven't been clear on something, leave me a question in the comments.
See you tomorrow for First Lines!
No comments:
Post a Comment